Installation Instructions for PlasmaGen v5.10.6
Important Note:
As with any update for any software, it is
always a good idea to make a backup of your system before installing any
updates. This is just a precautionary measure.
- Click on the PlasmaGen5106Install.exe filename to
start the download.
- You will be prompted to either Save the file or Run the file.
Choose to Save the file on your Desktop.
- Be sure PlasmaGen is NOT running before going on to the next
steps.
- On your Desktop, run the program called PlasmaGen5106Install.exe.
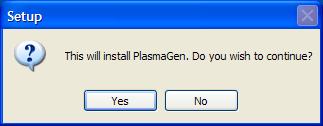
- You will be asked if you want to install PlasmaGen. Click Yes.
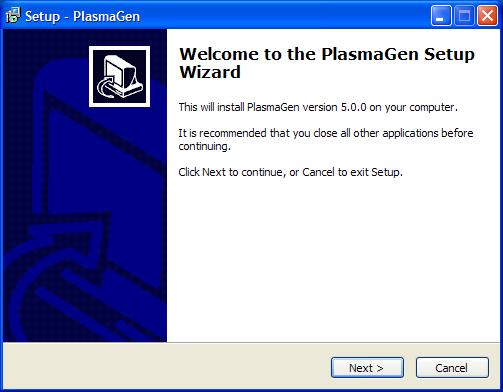
- The Welcome screen of the installer will appear.
Click Next to continue.
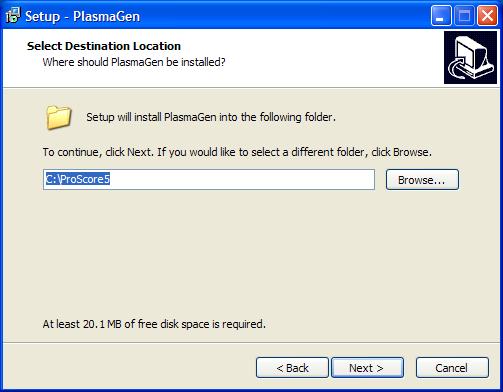
- You will then be prompted for the location to install PlasmaGen.
The default is C:\ProScore5. If you already have
ProScore v5 installed on your computer, you should make sure this folder is
the same as the folder ProScore v5 was previously installed into.
Click the Browse button if you need to change the installation
folder. Click the Next button to continue.
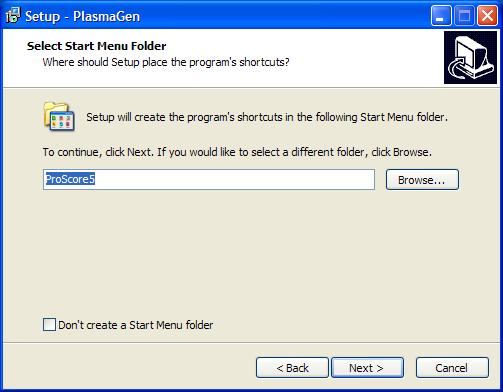
- Select the name of the Start Menu folder to be used to hold the PlasmaGen
icons. Click Next to continue.
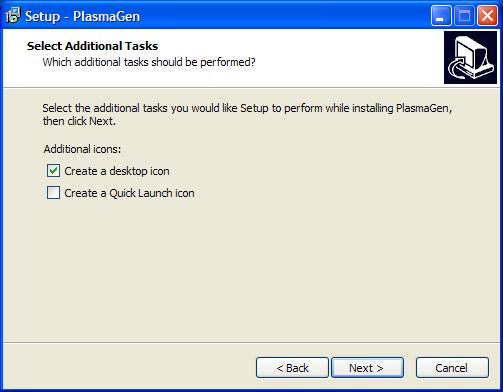
- If you want Setup to create icons on your Desktop or Quick Launch bar
then select the appropriate choices. Click Next to continue.
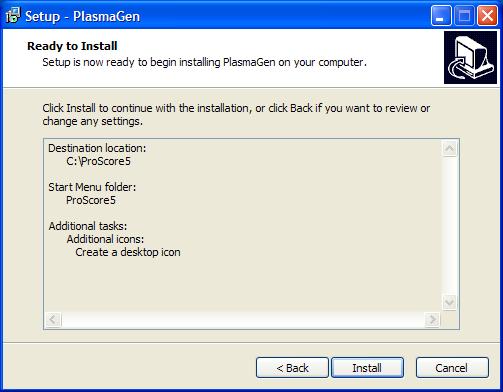
- Setup is now ready to install PlasmaGen. Review your install
settings and click Back to make any changes before proceeding.
Click Install to continue.
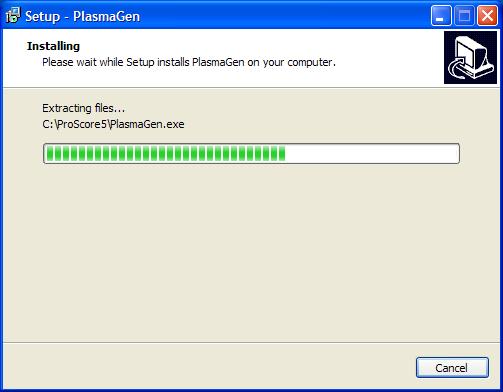
- Setup will begin extracting and installing all the files.
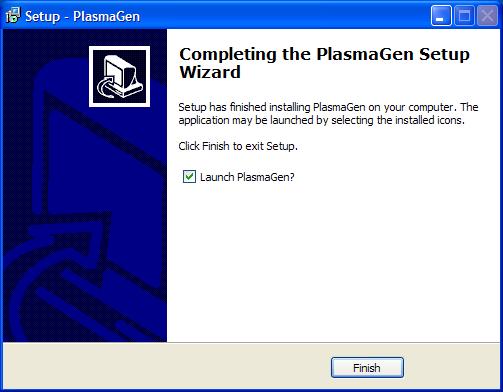
- The PlasmaGen installation is now complete. Click Finish to
continue.